Add clients to your agency account
1. Go to “Agency → Clients”, then press the “New Client” button.

The “General information” section
2. Add the full name of your client, their current email address, and company name, create a password for them. You need to share this password with the client to log in, they will be able to change it later.
You can also add any custom notes to the “Internal Notes” field.

The “Tools” section
3. Enable or disable the tools listed below depending on your client’s requests and needs.

The “Amount” section
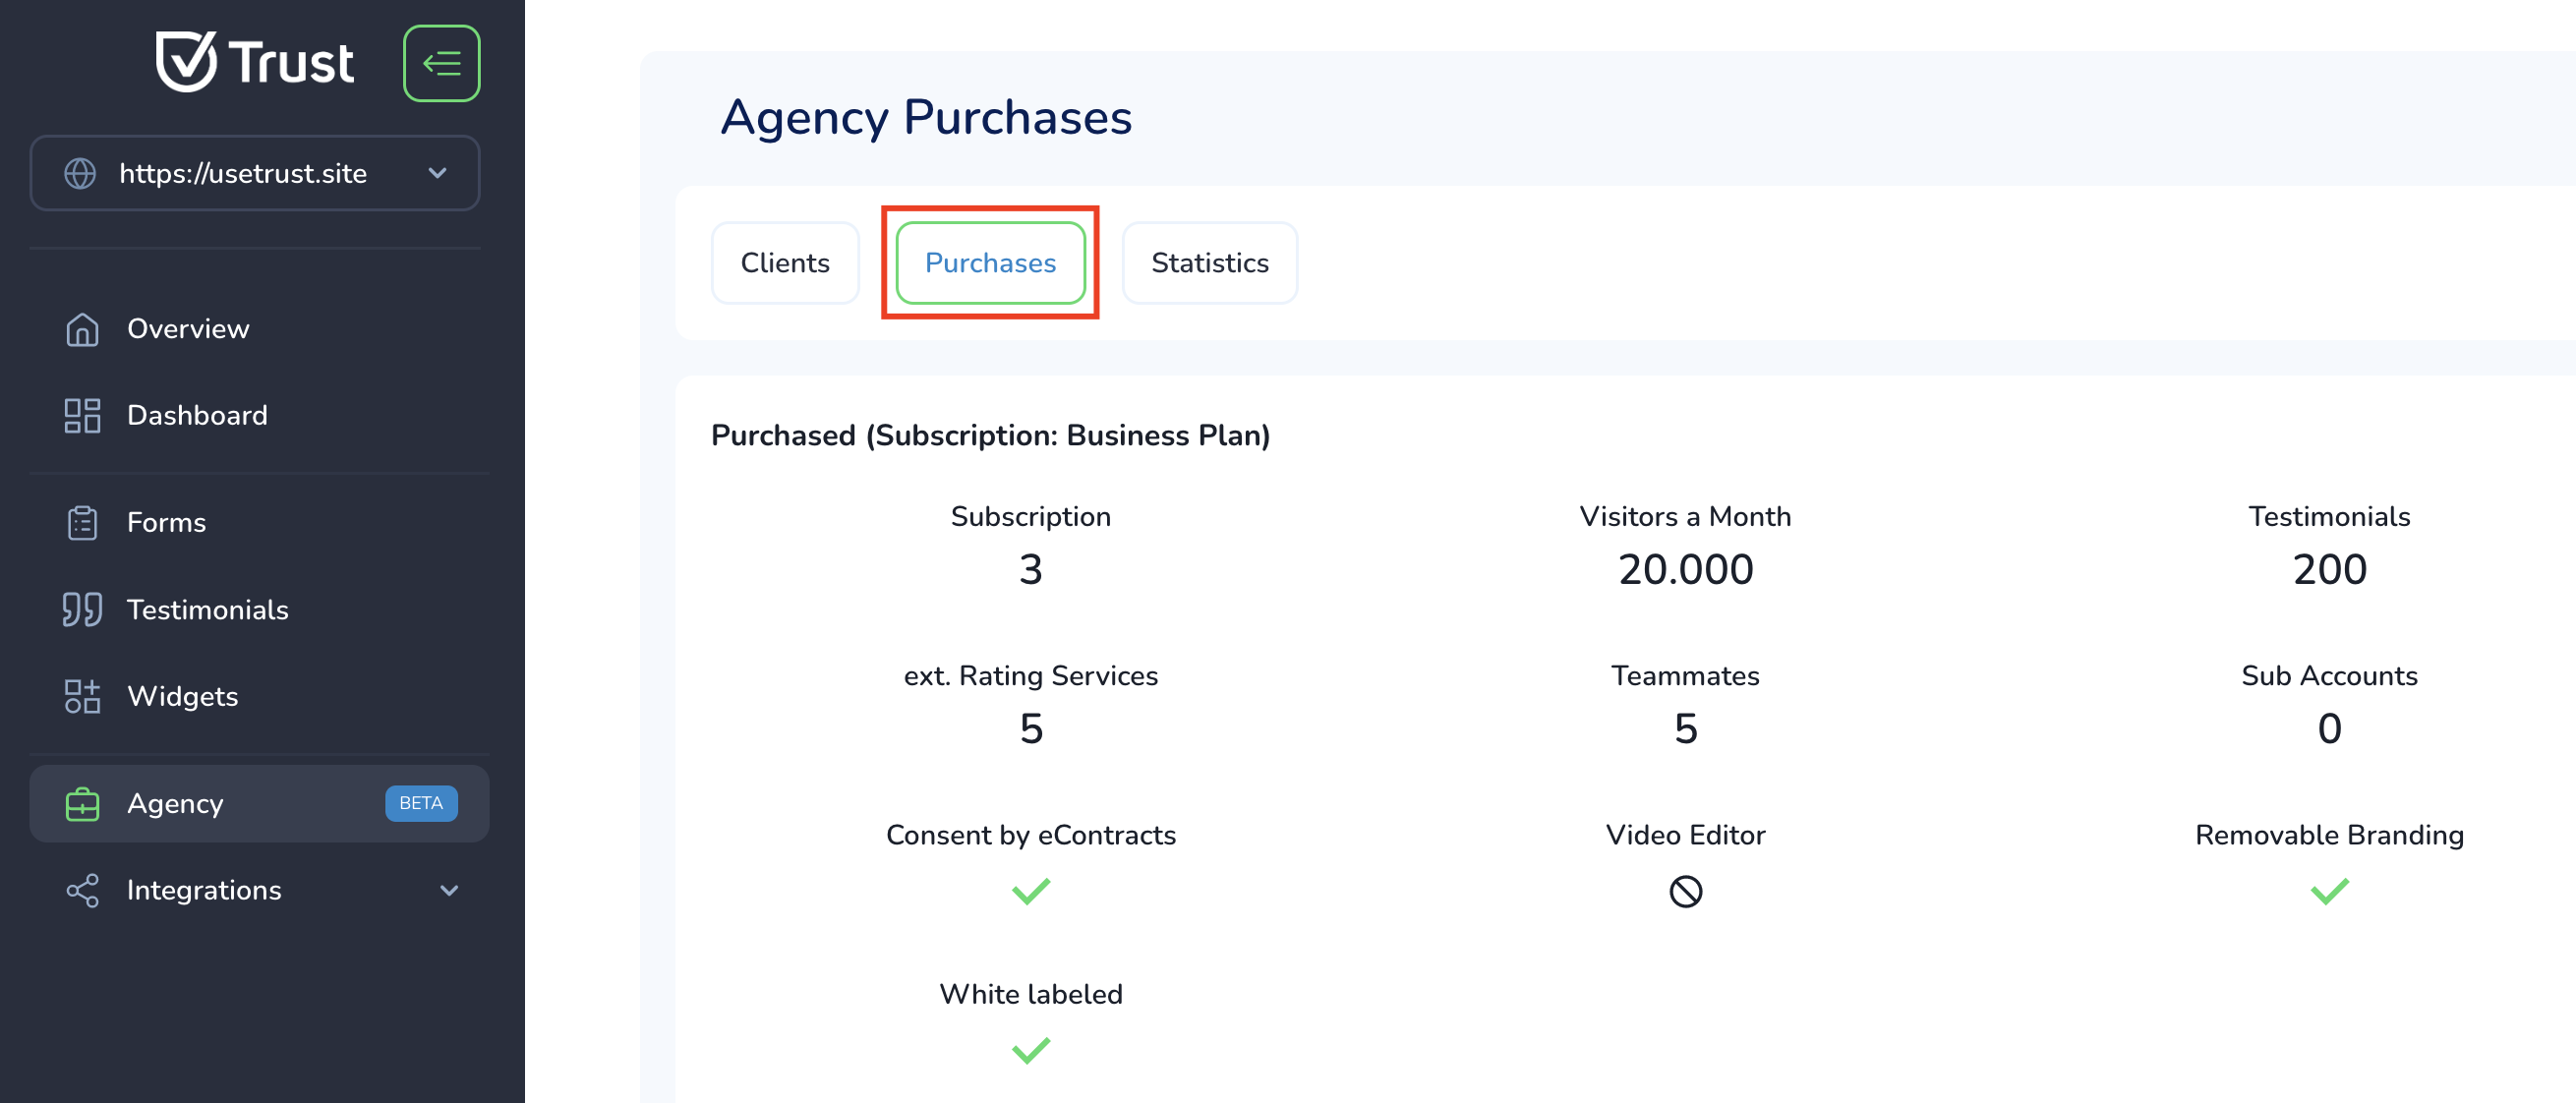
4. Your admin account has a specific amount of available feature items listed in the “Purchases” tab.

You need to divide these items between your admin account and sub-accounts (clients). Set a certain amount of items for a new client’s account considering your limits.

6. Press “Save”.

Later you can:
- See the usage statistics of this specific sub-account;

- Switch from your admin account to the sub-account (shadow it);

- Change the assigned tools and the number of limited items;

- Delete clients.
Was this helpful?

